So far, all alarm actions in SensDesk used to be configured by editing a particular sensor. However, SensDesk now allows setting more Safe Ranges and customizing the corresponding messages. Therefore, the system of creating actions had to be changed. In a completely new Action module, users can define an unlimited number of actions (e-mails, text messages, switching of relays, and in the future also SNMP traps) for each sensor. In order to allow for the management of a large number of sensors or alarms, the method of specifying Safe Ranges and Notice Ranges, as well as message Targets and Templates, has been redesigned.
Each alarm action now consists of several elements.
Action = Range + Target + Template
In this way, a single modification to a Target, a Safe Range or a Notice Range can have an effect on multiple alarm actions. It is no longer necessary to edit each sensor separately.
There is an exception to this rule: For some outputs, it is not possible to choose a message template and target using the Target module because it is not possible to control the output with multiple actions. The particular output is selected directly when creating the action.
Range: What is the difference between Safe Range, SD Range, and Notice Range
The SafeRange and SD Range in SensDesk have already been covered elsewhere. In place of SD Range, users can now take advantage of the new Notice Range feature.
Safe range is the range of sensor readings that is considered safe. This notion is used in all devices capable of performing operations autonomously based on this range – such entering and exiting the Alarm state, sending alarm messages or switching outputs, as well as sending extra messages to the portal. For the portal, the SafeRange is a unique set of values that is synchronized between the portal and the device and is configured when editing a sensor. In the portal, this range determines whether the Alarm state is shown.
Notice range is an alternative range of safe sensor readings, stored in the portal. It will be used to send information (alarm) messages or control outputs. These ranges are only used to send messages and display the ranges of allowed values in charts. They are configured centrally for the entire team and are assigned to sensors by means of Actions.
Why several ranges?
For most applications, one safe range is sufficient. Is the door open or closed? There is a simple answer to that question. However, for continuous quantities, this may not always be the case, and it may be useful to send information to different people depending on the severity of the problem. Think of it as a kind of alarm escalation. For example, if we feel sick, we may decide as follows: temperature over 37 °C – stay at home, over 39 °C – call the doctor. Escalation can work in a similar way in a technology environment: If the temperature in a rack exceeds 30 °C, turn on backup A/C. If it exceeds 40°C, call the building manager. If it exceeds 50°C, shut down the equipment. And if it exceeds 75°C, call the fire brigade right away.
Working with ranges
Safe ranges are defined as usual at the Edit tab for each sensor. The only difference is that now the values are synchronized between the device and the portal. In case of a conflict, the values in the device take precedence. The synchronization must be supported by the device firmware, too. Therefore, it needs to be upgraded. For more information, see Changes in SD SafeRange in SensDesk.
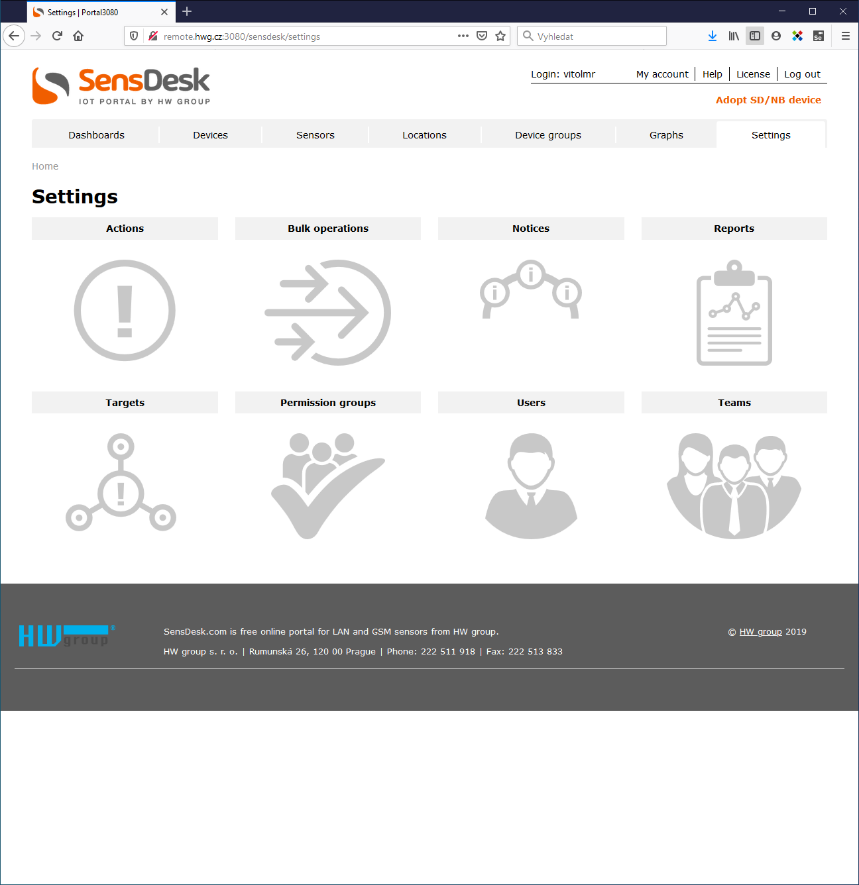
Notice ranges are set in a separate module under Settings / Notices.
A list of all existing ranges can be displayed in a tile or table format depending on the user preferences.
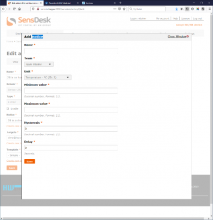
After clicking Create new notice, fill in similar parameters as for a SafeRange:
- Name – Name of the Notice Range to identify it in subsequent operations. Take care when choosing the name. It may also include the range values themselves.
- Unit – Unit of measurement for specifying the range. When creating an Action, only ranges with the appropriate unit will be displayed. This makes the setup easier in larger systems. The unit must be chosen correctly; for example, “%” is different from “%RH”.
- Minimum value – The lowest value of the safe range. If the reading drops below this value, an action is initiated.
- Maximum value – The highest value of the safe range. If it is exceeded, an action is initiated.
- Hysteresis – A band of insensitivity that is applied at the end of the alarm. If the change does not exceed the hysteresis, the alarm is not called off.
Delay – Delay for starting the action. This can be used to eliminate false alarms or to tolerate short excursions outside of the safe range. Care must be taken to account for the period for sending data. For a Safe Range that is stored in the device, the delay can be as short as a few seconds (devices, except battery-powered ones, usually read sensor values every few seconds). However, for a Notice Range, a sensible delay is either 0 or a multiple of the Push Period (which is typically set to 15 minutes).
Target: What are Targets
For actions, Targets specify the destination e-mail addresses, phone numbers for text messages, and in the future, IP addresses for SNMP traps. The necessary parameters when setting a target differ for different target types (e-mails, SMS and so on). Each target may contain multiple destination addresses separated by commas.
To create a new target, click the corresponding button and select the target type.
E-mail targets
Specify the target name and the list of destination e-mail addresses.
SMS targets
Specify the target name, the list of phone numbers, and the address of the HW group SMS gateway. If the address is specified in the team settings, it is filled in automatically.
Action: Creating actions
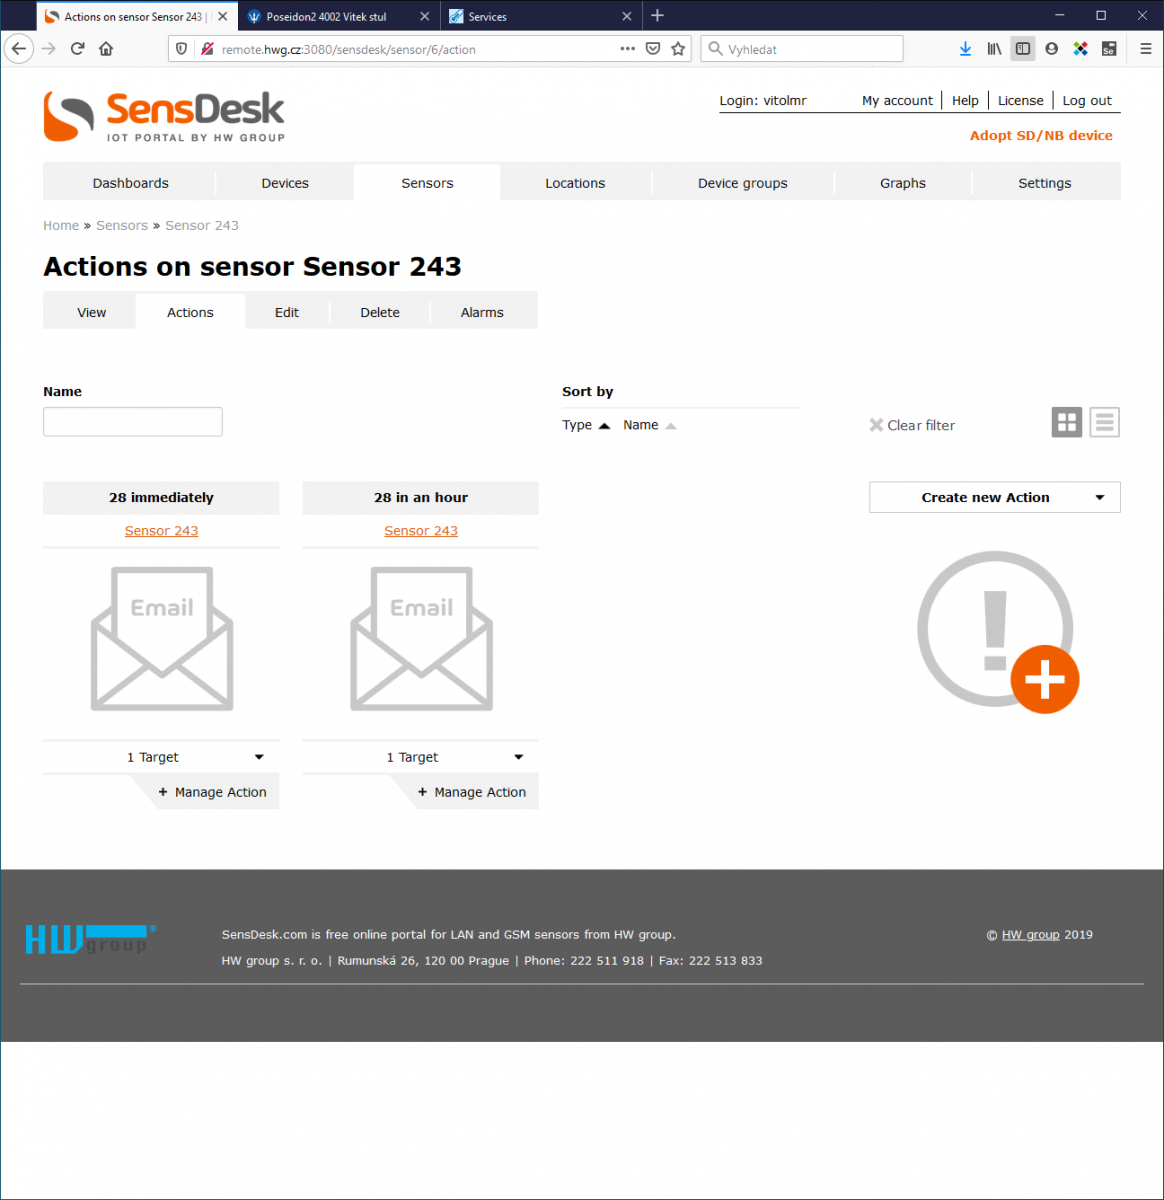
Actions can be created for sensors, inputs, outputs or devices. To create an action, use the Action tab.
The tab lists all existing tabs in a tile or table format. Here you can also create new actions. The following choices are available:
- SMS
- Sensor output
The creation of Actions follows a similar logic as the creation of Notice ranges or Targets.
Alarm e-mail
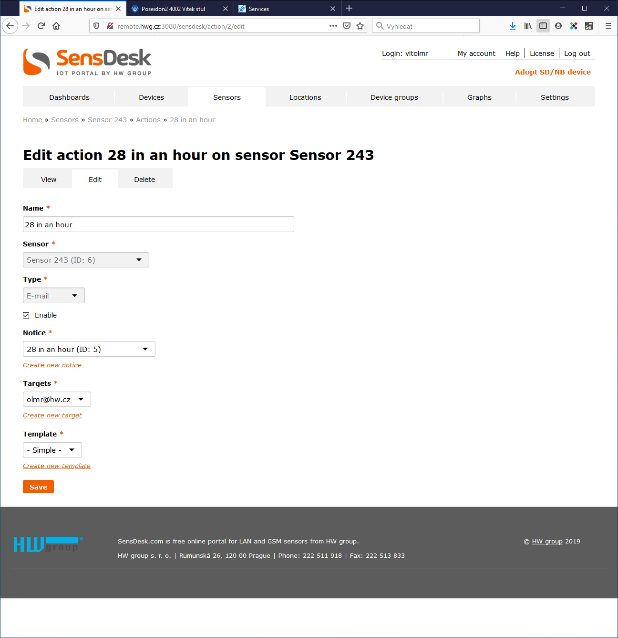
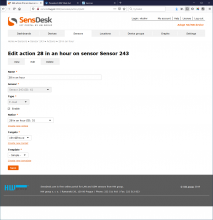
To create an alarm e-mail, fill in:
- Name – The action name can give a better overview and can be used for filtering in batch operations.
- Enable – Quickly enables or disables the action. When disabled, the action is no longer performed but it does not have to be deleted and perhaps later recreated.
- Notice – Drop-down list for selecting a range. It is possible to select the Safe Range stored in the device (- SD Range -) or an existing Notice Range. If the range needed for the action has not been created yet, click Create new Notice to create one. Currently, you will be redirected to the range creation page, and taken back after saving the range. In the future, we will add a modal dialog to make the process faster. Only ranges with the appropriate unit are displayed.
- Targets – One or more existing targets can be selected. If the target needed for the action has not been created yet, click Create new target to create one. Currently, you will be redirected to the target creation page (Targets), and taken back after saving the target. In the future, we will add a modal dialog to make the process faster. Only targets of the appropriate type (e-mail) are displayed.
- Template – Drop-down list for selecting a message template. It is possible to select the basic template (- Simple -) or an existing template. If the template needed for the action has not been created yet, click Create new template to create one. Currently, you will be redirected to the template creation page (Templates), and taken back after saving the template. In the future, we will add a modal dialog to make the process faster. Only templates of the appropriate type (e-mail) are displayed.
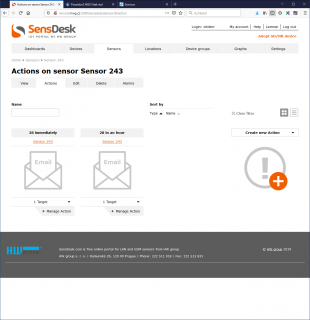
After the action is saved, it is shown in the list of actions.
Alarm SMS
An alarm SMS (text message) is created in a similar way to an e-mail action. To create an alarm SMS, fill in:
- Name – The action name can give a better overview and can be used for filtering in batch operations.
- Enable – Quickly enables or disables the action. When disabled, the action is no longer performed but it does not have to be deleted and perhaps later recreated.
- Notice – Drop-down list for selecting a range. It is possible to select the Safe Range stored in the device (- SD Range -) or an existing Notice Range. If the range needed for the action has not been created yet, click Create new Notice to create one. Currently, you will be redirected to the range creation page, and taken back after saving the range. In the future, we will add a modal dialog to make the process faster. Only ranges with the appropriate unit are displayed.
- Targets – One or more existing targets can be selected. If the target needed for the action has not been created yet, click Create new target to create one. Currently, you will be redirected to the target creation page (Targets), and taken back after saving the target. In the future, we will add a modal dialog to make the process faster. Only targets of the appropriate type (SMS) are displayed.
- Template – Drop-down list for selecting a message template. It is possible to select the basic template (- Simple -) or an existing template. If the template needed for the action has not been created yet, click Create new template to create one. Currently, you will be redirected to the template creation page (Templates), and taken back after saving the template. In the future, we will add a modal dialog to make the process faster. Only templates of the appropriate type (SMS) are displayed.
After the action is saved, it is shown in the list of actions.
Switching an output
“Sensor output” is an action that switches a remote output (such as a relay) whenever the range is exceeded. It can be used to turn on a warning light, sound a horn, or simply turn on a back-up system. To create the action, fill in:
- Name – The action name can give a better overview and can be used for filtering in batch operations.
- Enable – Quickly enables or disables the action. When disabled, the action is no longer performed but it does not have to be deleted and perhaps later recreated.
- Notice – Drop-down list for selecting a range. It is possible to select the Safe Range stored in the device (- SD Range -) or an existing Notice Range. If the range needed for the action has not been created yet, click Create new Notice to create one. Currently, you will be redirected
- to the range creation page, and taken back after saving the range. In the future, we will add a modal dialog to make the process faster. Only ranges with the appropriate unit are displayed.
- Setout sensors – List of outputs that will be controlled by the action. In a JavaScript tree, it is possible to select one or more outputs to use. Selected outputs are shown in the highlighted box. Only devices that have (physical or virtual) outputs, are in the user’s own team, and for which the user has the necessary permissions are shown and available for selection. In addition, only outputs that can be controlled are shown. It is not possible to control outputs that:
- have a Local Condition set in the device (to avoid unintended changes to the autonomous device operation), and/or
- are already used in another action.
After the action is saved, it is shown in the list of actions.
Actions on the entire device
An action on a device is used to react to communication problems between the device and the portal. Although it is possible to use any action on any sensor or input since the loss of communication leads to an Alarm with a “dev. Inv” (Device invalid) value, it is easier and clearer to create a separate action on the device itself with the possibility to use a separate template.
This action is similar to the previous actions, except there is no Notice option as it would make no sense in this context.
Overview of all actions
To avoid the need to go through all sensors, inputs, outputs and devices just to find if there is an action set on any of them, the Settings section includes an overview of all team actions.