HW group devices follow the two current trends in sensor technology. First, there are simple single-purpose devices with IoT network topology, dependent on a central cloud application for control. Then, there are smart devices for autonomous operation and networks with high security requirements. Each solution has its own advantages. Simple devices offer simple installation, configuration and central maintenance, thus reducing maintenance costs during the entire lifetime.
Submitted by mkotisova on Wed, 02/05/2020 - 12:20
Ethernet & Standalone Monitoring (LAN):
Ethernet devices with web server (Poseidon2 family, Damocles2 family, STE2, HWg-PWR, SH4, WLD2, I/O Controller..)
IoT Monitoring devices (Portal required):
Portal required revices (SD-xxx, NB-xxx).
Default portal is HWg-cloud, any SensDesk Technology portal can be used.
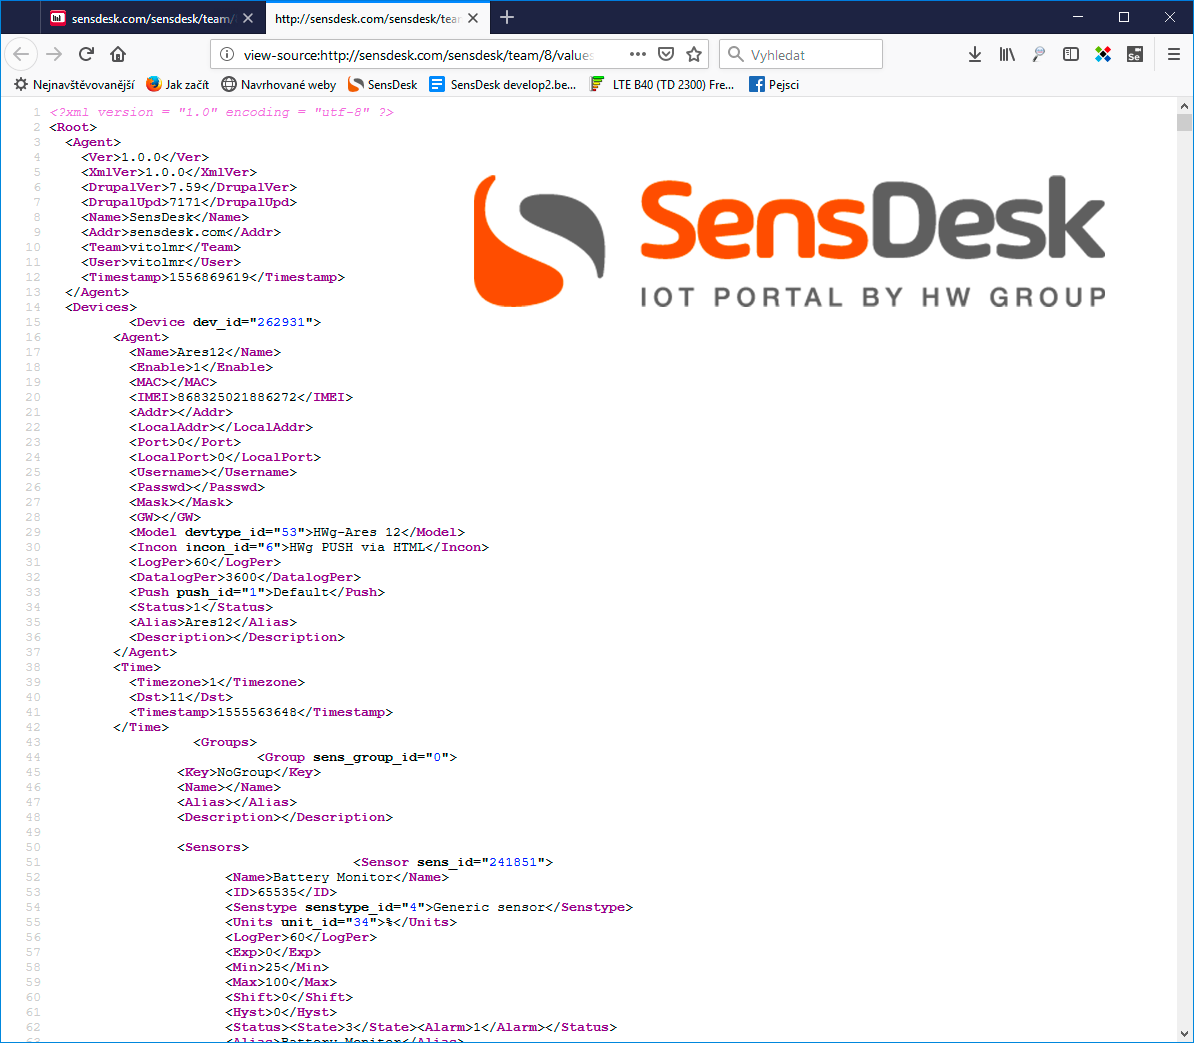
Ares family (USB)
USB configured devices (Ares 10-12 GSM / LTE)
Submitted by mkotisova on Thu, 06/13/2019 - 15:57
Submitted by mkotisova on Tue, 05/28/2019 - 10:25
Submitted by mkotisova on Tue, 05/21/2019 - 13:02
Submitted by mkotisova on Thu, 05/16/2019 - 14:49
In SensDesk, each sensor and device state has its specific color and icon. This scheme is consistent throughout the portal.
The Dashboard gives a quick status overview of equipment or environment. It is a common feature of all monitoring systems, including SensDesk.
The Dashboard is displayed immediately after the user logs in, or by clicking the corresponding link in the menu. Besides the main Team Dashboard, SensDesk also supports user-defined dashboards, e.g. for use by different departments or branches – My Dashboard.
Create custom views and graphs, arrange devices into groups and view your sensor data in custom graphs. These are the basic SensDesk features. The new portal adds many functions for the administration of large-scale monitoring applications and sensor networks. At the same time, it unifies the communication with and control of all HW group devices, including the communication among them. SensDesk can be also connected to monitoring applications.
Pages